
🥒Crisp & Zesty!” The Only Dill Pickle Canning Recipe You’ll Ever Need (No-Fail Guide)🥒
If you’ve ever bitten into a store-bought pickle and thought, “This is fine, but I wish it had more crunch, more bite, and that tangy old-fashioned flavor,” then you're in the right place.
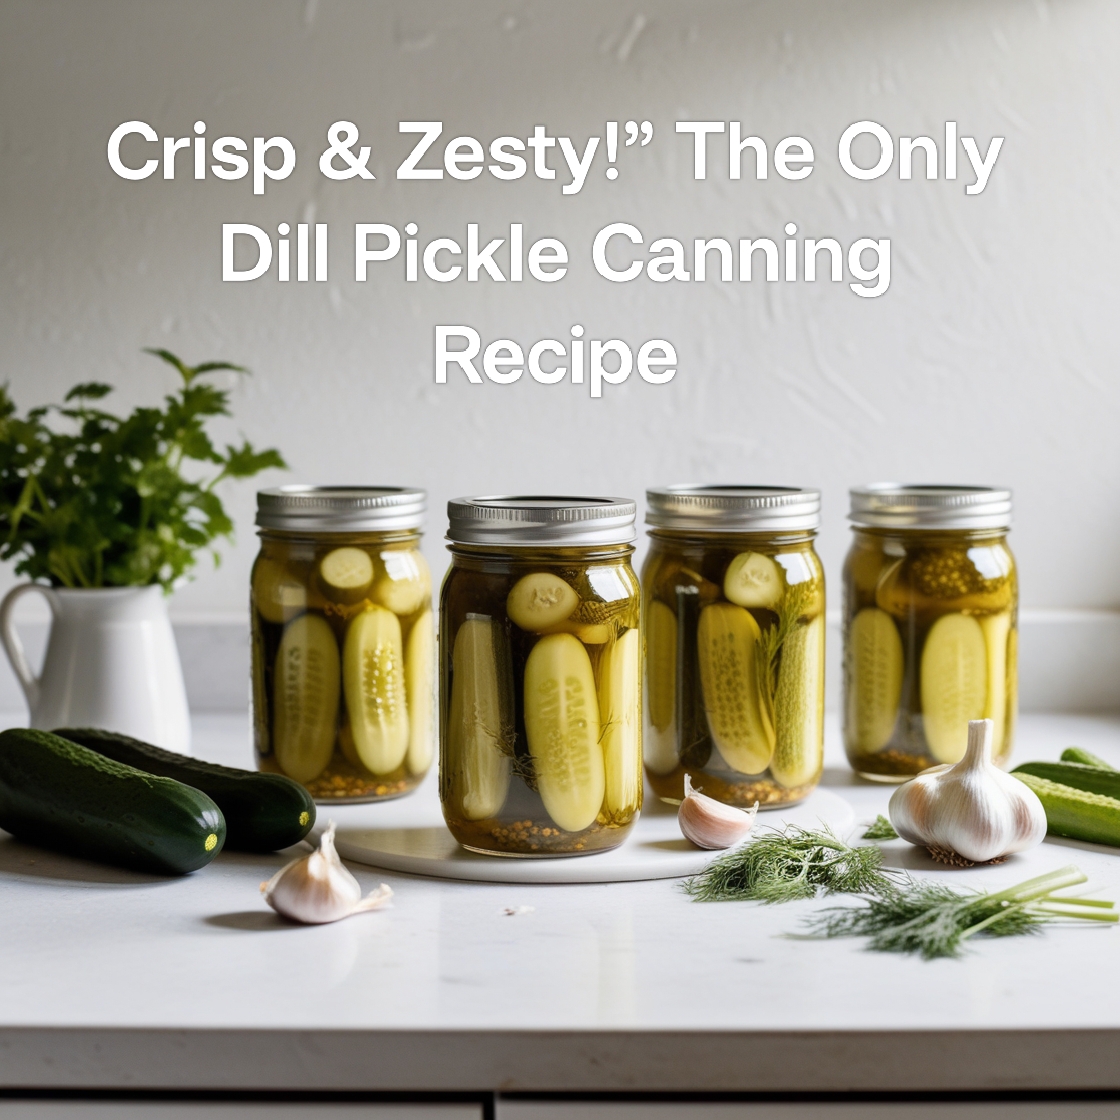
This guide is your go-to resource for making perfectly crisp, homemade dill pickles—specifically crafted for safe long-term canning. Whether you're a home garden grower with cucumbers to spare, or a DIY food lover seeking that nostalgic snap of a real dill, this article walks you through everything you need: the tools, ingredients, canning process, storage tips, and troubleshooting. No fluff, no AI-sounding filler—just solid, trustworthy instructions.
🥒 Why Make Homemade Dill Pickles? The Flavor (and Control) is Unmatched
Canning your own dill pickles gives you full control over ingredients—no additives, no preservatives, no “natural flavors” with mysterious origins. Just real cucumbers, real garlic, and spices you can see.
But it's not just about ingredients—homemade pickles have a signature crunch and tang you can't buy in a jar. Plus, they’re shelf-stable, making them perfect for long-term storage or holiday gifting.
🔪 Tools You’ll Need (Canning Isn’t Complicated, Promise)
Before diving into the recipe, gather the right tools:
- Canning jars with lids (Quart or pint-size Mason jars)
- Large stockpot or water bath canner
- Jar lifter (for safety!)
- Canning funnel (optional, but makes life easier)
- Tongs, ladle, clean towels
- Clean cutting board + sharp knife
You don’t need fancy gear. Most items are already in your kitchen or available at any major retailer like Walmart, Target, or Amazon.
🧄 Ingredients for the Classic Dill Pickle Brine (Enough for 6 Pints)
Here’s the time-tested brine formula that guarantees a perfect balance of sour, salty, and herby.
🌿 Ingredients:
- 3 ½ lbs fresh pickling cucumbers (4–6 inches long)
- 4 cups distilled white vinegar (5% acidity)
- 4 cups water
- 6 tbsp pickling salt (non-iodized)
- 12 garlic cloves (2 per jar, peeled)
- 6 tsp mustard seeds (1 tsp per jar)
- 3 tsp black peppercorns (½ tsp per jar)
- 6 heads of fresh dill or 12 dill sprigs
- Optional: red pepper flakes or jalapenos for a spicy version
👉 Pro Tip: Always use fresh, firm cucumbers. Avoid waxed grocery store cucumbers—they don’t pickle well and lose crunch.
🥄 Step-by-Step: How to Make Dill Pickles for Canning
Let’s break it down into manageable steps:
Step 1: Prep the Cucumbers
- Wash cucumbers thoroughly.
- Slice off ⅛ inch from the blossom end (contains enzymes that cause soft pickles).
- Leave whole, slice into spears, or cut into rounds depending on your preference.
Step 2: Sterilize Your Jars
- Place jars in a large stockpot with water and bring to a simmer (not boil).
- Keep lids in hot (not boiling) water separately to soften seals.
Step 3: Make the Brine
- In a large saucepan, combine vinegar, water, and pickling salt.
- Bring to a gentle boil, then reduce heat and keep warm.
Step 4: Pack the Jars
- Add garlic, mustard seeds, peppercorns, and dill into each jar.
- Pack cucumbers tightly but don’t crush them.
- Pour hot brine over cucumbers, leaving ½ inch headspace.
- Remove air bubbles by tapping the jar or using a spatula.
- Wipe the rim clean and seal with lids and rings—finger tight only.
♨️ Step 5: Water Bath Canning – Making Them Shelf Stable
This step ensures your pickles are safe for long-term pantry storage.
- Fill your canner or stockpot with enough water to cover the jars by 1 inch.
- Bring to a rolling boil.
- Carefully lower the jars into the boiling water using a jar lifter.
- Process pints for 10 minutes (adjust for altitude if necessary).
- Remove and place jars on a towel. Let cool undisturbed for 12–24 hours.
You’ll hear the satisfying “pop” of lids sealing as they cool—music to a canner’s ears!
🧊 How to Store and When to Eat
- Shelf Life: Up to 12 months in a cool, dark pantry.
- Refrigerate after opening.
- Best Flavor: Wait 2–3 weeks for flavor to fully develop.
🧪 Common Mistakes & How to Avoid Mushy Pickles
Here’s how to ensure your pickles stay firm, not floppy:
❌ Don’t use table salt – It contains anti-caking agents. Use pickling or kosher salt.
❌ Never skip removing the blossom end – Contains softening enzymes.
❌ Don’t over process in water bath – Stick to 10 minutes; extra time softens the cucumbers.
✅ Optional Tip: Add grape leaves or a pinch of alum to jars for extra crunch (old-school trick!).
🌶️ Variations: Customize Your Dill Pickles Like a Pro
- Spicy Pickles: Add a sliced jalapeño or ½ tsp chili flakes per jar
- Garlic Bomb: Double the garlic for extra punch
- Sweet Dill: Add 2 tbsp sugar to the brine for a tangy-sweet twist
- Zesty Italian: Add oregano, basil, and crushed red pepper
Homemade pickling is endlessly customizable—once you master the basics, feel free to experiment with flavors that match your meals or mood.
🧾 Nutrition Facts (Per Serving – 1 Spear)
| Nutrient | Amount |
|---|---|
| Calories | 5 |
| Carbs | 1g |
| Fat | 0g |
| Sodium | 330mg |
| Vitamin K | 12% DV |
Low-calorie, gut-friendly, and packed with crunch—dill pickles are the perfect guilt-free snack.
🛒 Where to Find the Best Pickling Cucumbers in the U.S.
Look for “Kirby,” “Boston Pickling,” or “National Pickling” cucumber varieties. In the U.S., farmer’s markets, co-ops, or local growers during late spring through early fall are your best bet.
Hot Tip: Buy in bulk during peak season (June–August) and preserve for year-round use.
👨🍳 Expert Canner Tips from American Homesteaders
From rural kitchens in Kentucky to urban home gardens in Oregon, experienced U.S. canners swear by the following:
- Start Early Morning: Cooler temperatures = less heat stress.
- Batch Plan: Double or triple the recipe if cucumbers are in season.
- Keep a Journal: Note changes like brine ratios or spice combos for next year.
🏷️ Label Like a Pro
Use waterproof labels and date your jars. Include “Batch Flavor” (e.g., Spicy Dill, Garlic Bomb) so you remember what’s inside.
https://youtu.be/N6-21HjZLDk?si=mbWBbEVc4IXPzRV9
🧠 Final Thought: Why You’ll Never Go Back to Store-Bought
Homemade dill pickles aren't just a food project—they’re a lifestyle upgrade. You’ll save money, reduce waste, and impress everyone at your next barbecue. Plus, nothing beats pulling a jar of your own pickles off the shelf months later and tasting summer again.
Once you make your first batch, don’t be surprised if you never buy pickles from a store again.
✅ Quick Recap – Your Canning Checklist
- [ ] Fresh cucumbers (pickling variety)
- [ ] Clean jars + lids
- [ ] Vinegar (5% acidity)
- [ ] Pickling salt
- [ ] Garlic, dill, spices
- [ ] Water bath canner or stockpot
- [ ] Patience (2–3 weeks for best flavor)
 Reviewed by ap2k.in
on
June 12, 2025
Rating:
Reviewed by ap2k.in
on
June 12, 2025
Rating:


No comments: